4 Configure The eBox Firewall
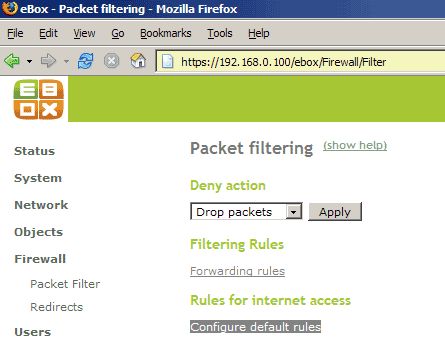
In the next step we want to open port 22 (SSH) again in the firewall. Go to Firewall -> Packet Filter -> Configure default rules:
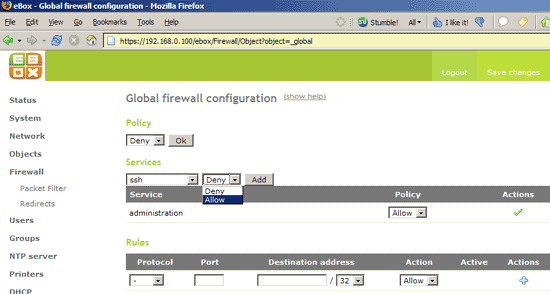
Under Services, select ssh and Allow and click on Add:
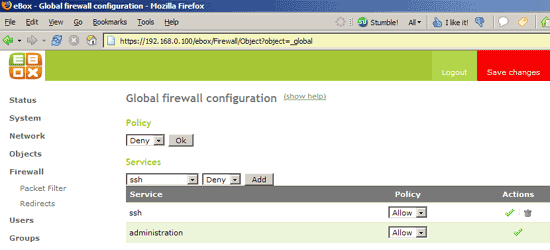
In almost all cases when you change a setting, you will see the red Save changes rectangle in the upper right corner afterwards. Click on it:

After you have clicked on the red rectangle, another screen comes up telling you to save the configuration which is a little bit long winded. Anyway, click on Save:
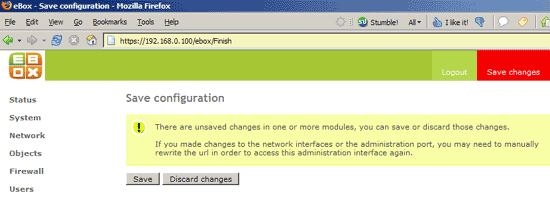
Afterwards, you can access your system on port 22 (SSH) again.
5 Change Your eBox Password
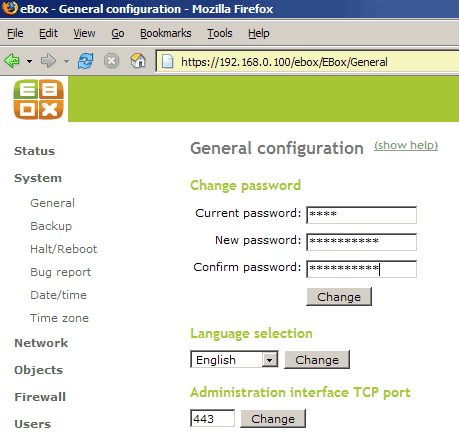
Go to System -> General and change your eBox password:
6 Date And Time Settings
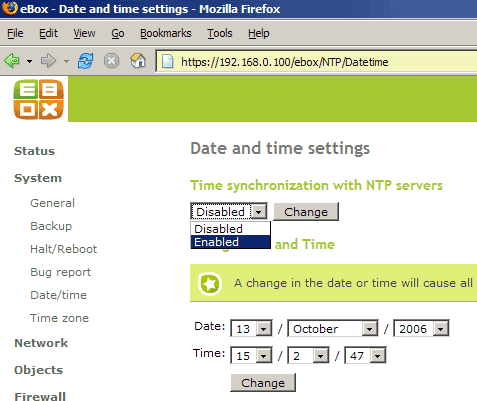
To adjust the system time, go to System -> Date/time and enable time synchronization with NTP servers. Click on Change:
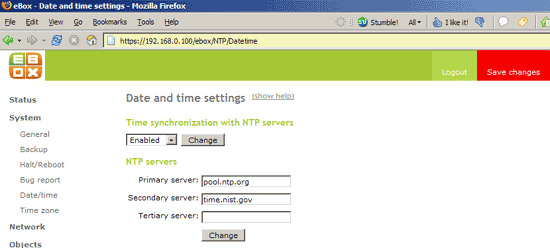
Then enter some NTP servers, e.g. pool.ntp.org and time.nist.gov. Click on Change. Don't forget to click on the red Save changes rectangle afterwards:
7 Create Groups
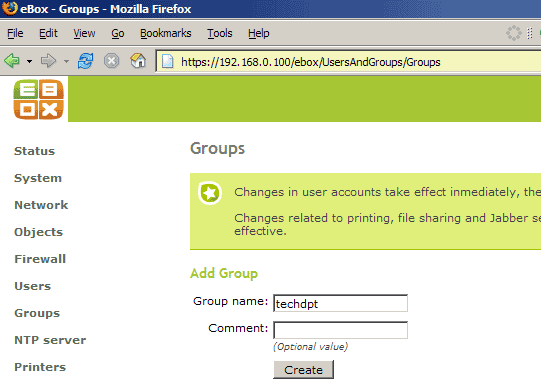
eBox allows you to create groups which can have different permissions. For example, one group could be allowed to use the printer, but not the file server, and vice versa for another group. In this article I create two example groups, one for the tech department and one for the sales department:
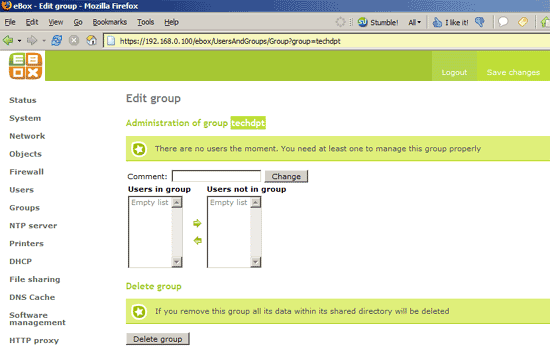
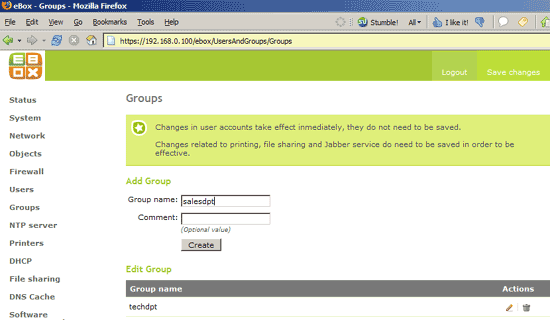
8 Create Users
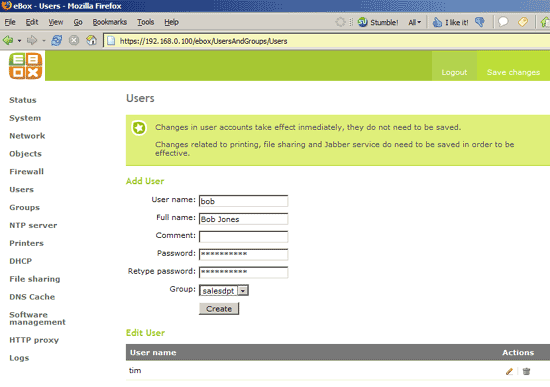
eBox lets you also create users that can be put in the groups you created before, thus inheriting the group permissions, but you can also assign individual permissions to each user. In this example, I create two users: tim in the group techdpt and bob in the group salesdpt:
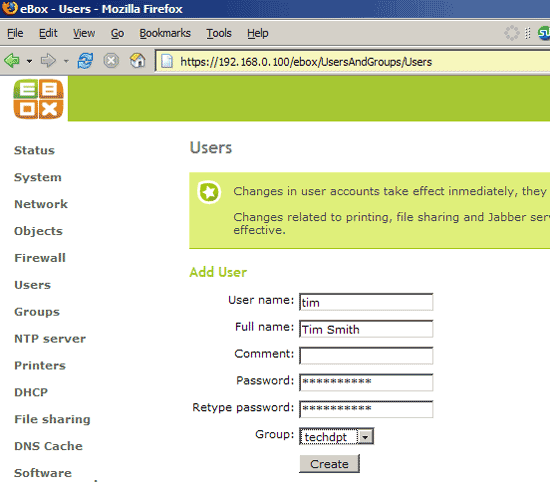
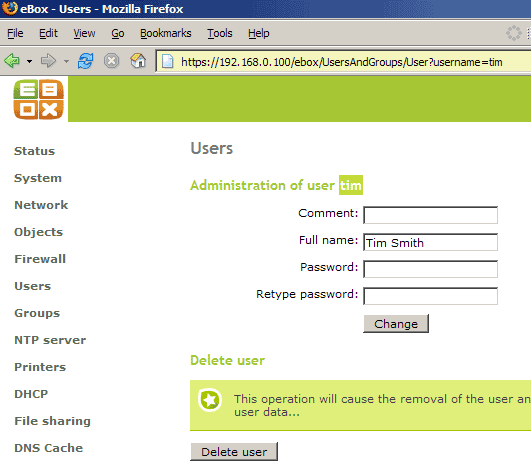


0 Comments:
Post a Comment