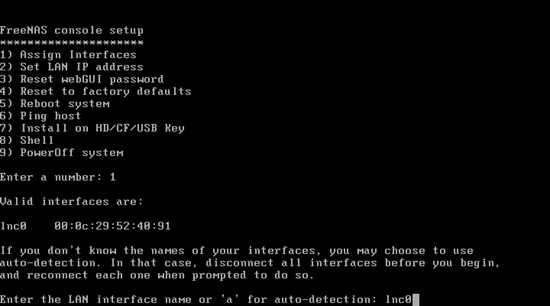
After the reboot we want to configure the network of our FreeNAS system. First we have to declare which network interface we want to use in FreeNAS, therefore we type 1:

Enter the name of the LAN interface. FreeNAS shows you a list of valid interfaces, so pick one of these. In my case I use lnc0:
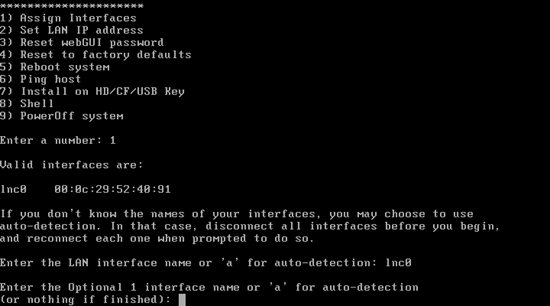
We don't want to configure another LAN interface, so we simply hit
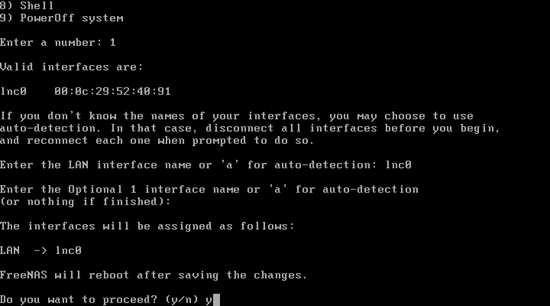
FreeNAS needs to reboot again. Confirm this by pressing y:
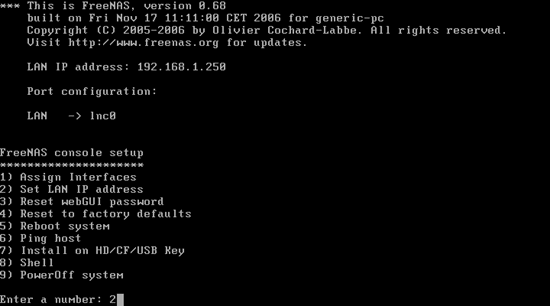
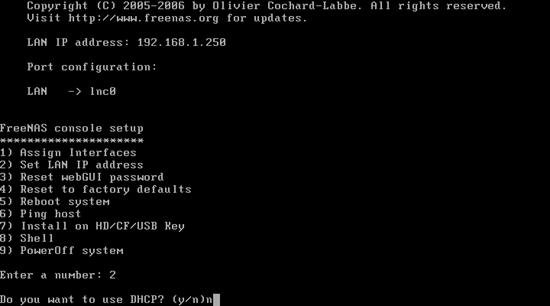
After the reboot type 2 to set the IP address of the FreeNAS system:
We want a static IP address, so we answer Do you want to use DHCP? with n:
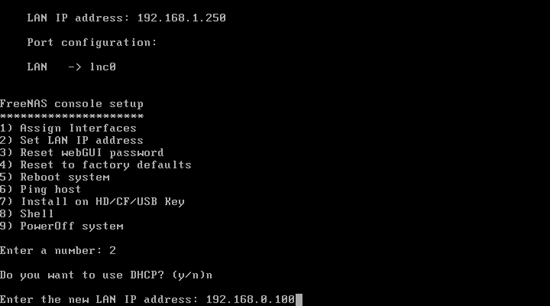
Then enter the IP address you want to assign to the FreeNAS system. I use 192.168.0.100:
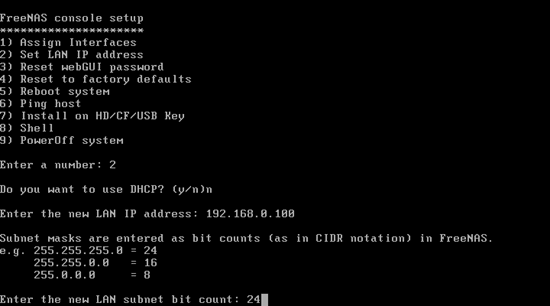
Next enter the subnet mask. I use 24:
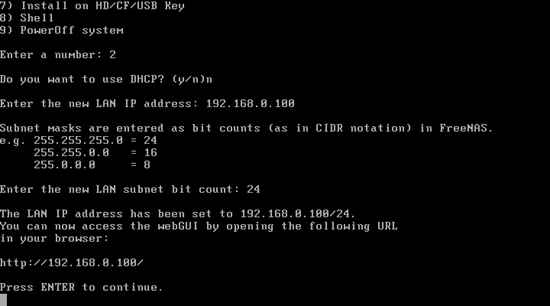
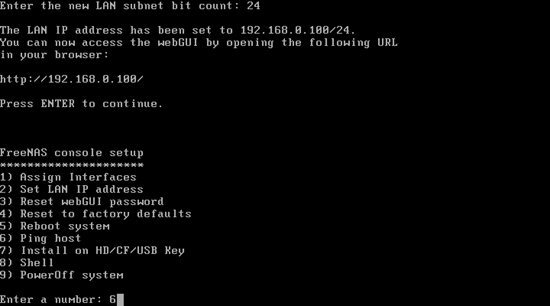
The network is now configured, and FreeNAS tells us that we can now access the FreeNAS web interface under the address http://192.168.0.100/ in a browser (but we don't do this yet). Press
Now let's test if our network connection is working. Therefore we type in 6:
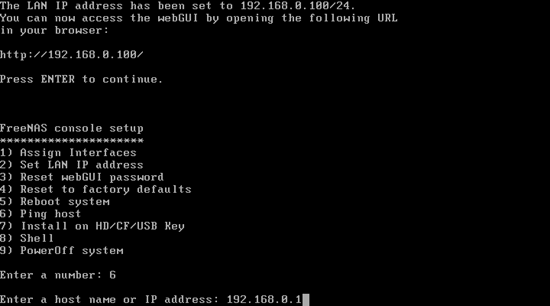
Next we type in an existing IP address from our local network (e.g. our gateway address, 192.168.0.1 in this example) to see if we can ping it:
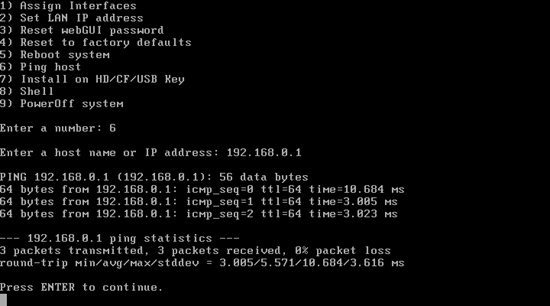
If everything goes well, the ping should succeed, and we can press


0 Comments:
Post a Comment